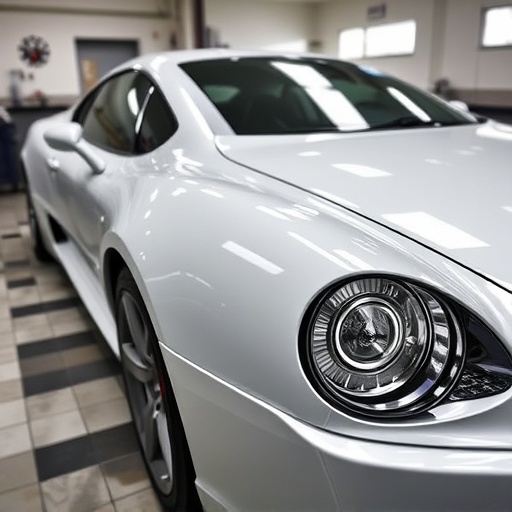


Tesla crumple zone repair is vital for vehicle safety and structural integrity after a collision. Specialized auto repair shops assess damage to hoods, fenders, doors, and trunks, performing precise repairs while maintaining factory-spec precision. This meticulous process prioritizes safety, thoroughness, and cost-effectiveness to ensure Tesla vehicles are restored to pre-collision condition. Professional body work services are key for accurate, tailored repairs specific to Tesla models.
After a front or rear-end collision, proper Tesla crumple zone repair is crucial for both safety and vehicle preservation. This article delves into the intricate design and purpose of Tesla’s crumple zones, offering a comprehensive guide to evaluating damage and restoring these critical components. By following a step-by-step process, owners can ensure efficient restoration, maintaining the safety features that make Tesla vehicles stand out in the market. Learn how to navigate this repair process for optimal results.
- Understanding Tesla's Crumple Zones: Design & Purpose
- Evaluating Damage After Front or Rear-End Collision
- Step-by-Step Repair Process for Efficient Crumple Zone Restoration
Understanding Tesla's Crumple Zones: Design & Purpose
Tesla’s crumple zones are strategically designed to absorb and distribute the energy generated during a front or rear-end collision, significantly reducing both the force of impact and the risk of injury to occupants. These zones, often referred to as crash safety features, are an integral part of what makes Tesla vehicles stand out in terms of safety. The crumple zones work in conjunction with advanced airbags and robust structural design to provide a protective envelope around the passenger compartment.
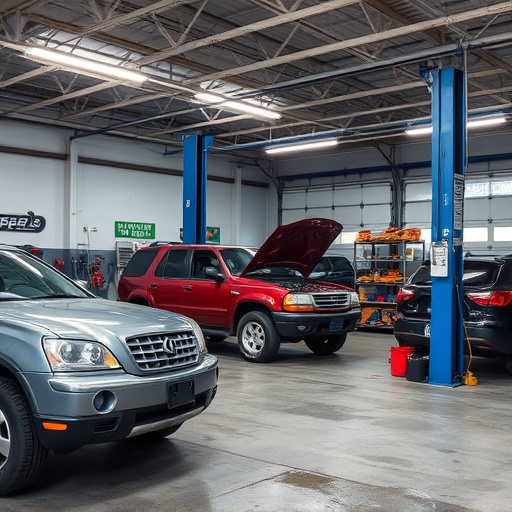
Understanding the intricate design behind these zones is crucial when considering Tesla crumple zone repair after any accident. While these areas are engineered to deform, taking much of the brunt of an impact, they do require expert attention for effective and safe repairs. For luxury vehicle repairs, particularly those involving Tesla models, it’s advisable to visit a reputable auto repair shop that specializes in handling high-end cars, ensuring the intricate safety systems, including crumple zones, are restored to their optimal state without compromising the vehicle’s structural integrity.
Evaluating Damage After Front or Rear-End Collision
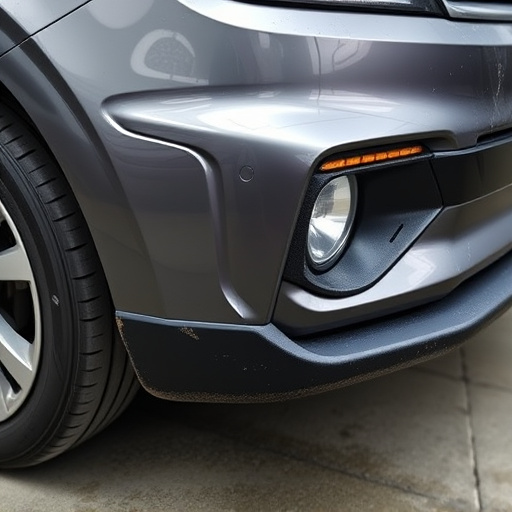
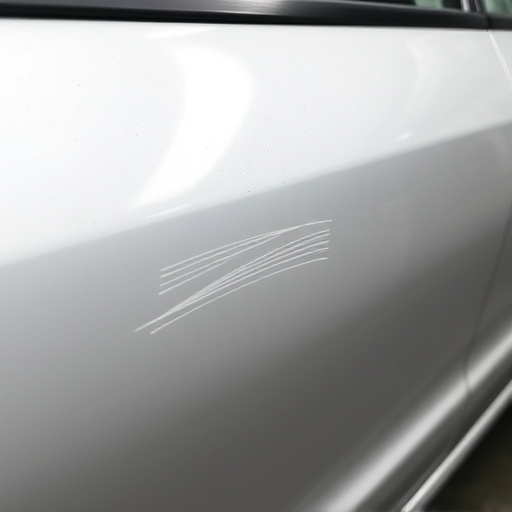
After a front or rear-end collision, the first step in Tesla crumple zone repair is to thoroughly evaluate the damage. The crumple zones, designed to absorb impact energy and protect passengers, often sustain visible deformities like dents and creases. These can range from minor cosmetic issues to more significant structural damage that requires professional attention.
Inspecting the vehicle involves a meticulous process of assessing each panel—hood, fenders, doors, and trunk—for bends, twists, or misalignments. Specialized tools and expertise are needed to determine if the crumple zones have effectively performed their safety function during the collision. Proper evaluation ensures that only necessary repairs are undertaken, facilitating efficient and effective vehicle body repair while minimising unnecessary costs and downtime.
Step-by-Step Repair Process for Efficient Crumple Zone Restoration
After a front or rear-end collision, the Tesla crumple zone plays a crucial role in absorbing and distributing crash energy, protecting both passengers and structural integrity. Efficient repair of this vital component is essential for restoring your vehicle to its pre-collision condition. Here’s a step-by-step guide:
1. Safety First: Begin by ensuring your safety and that of others. Remove any occupants from the vehicle and establish a secure workspace, following all necessary protocols and wearing appropriate personal protective equipment (PPE).
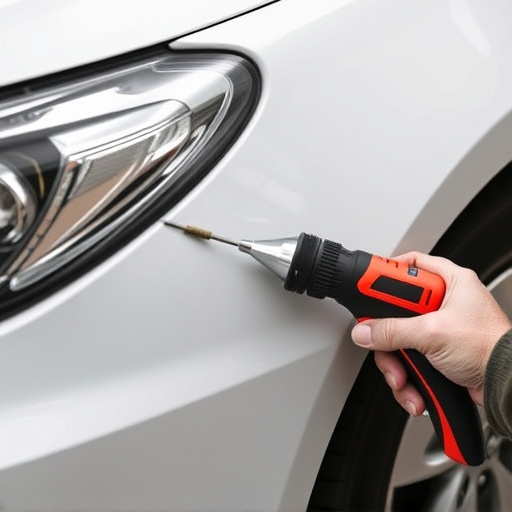
2. Assess Damage: Carefully inspect the crumple zone for damage, using lights or a mirror to reach hard-to-see areas. Identify torn panels, dents, or misaligned components. This step is crucial as it determines the extent of repair required, focusing on both structural integrity and aesthetic restoration.
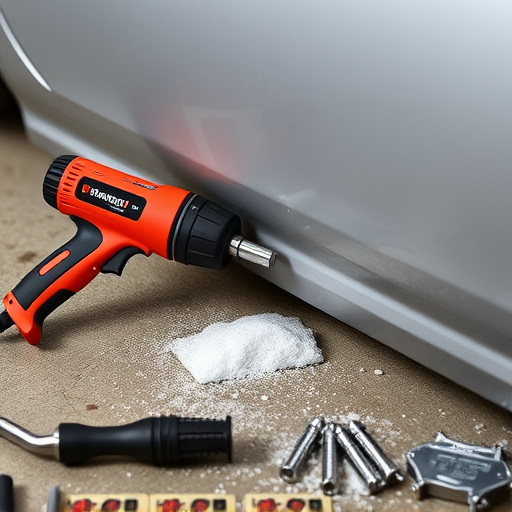
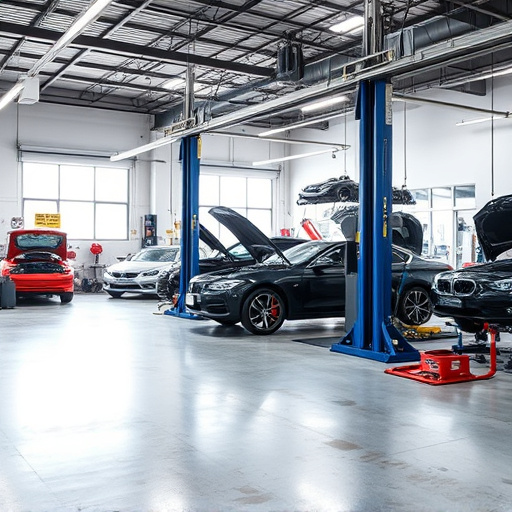
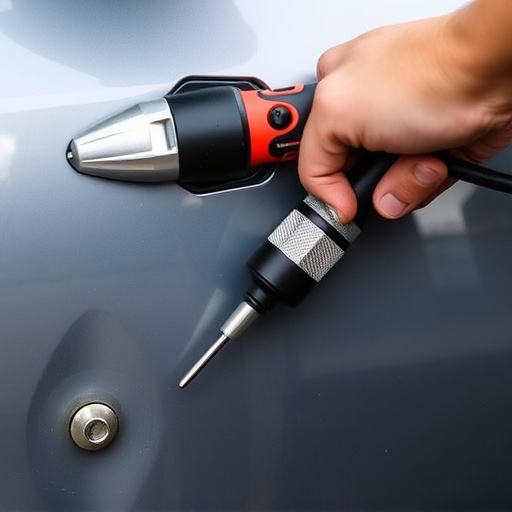
3. Remove Damaged Parts: Using specialized tools, carefully remove the damaged sections of the crumple zone. Precision is key to ensure minimal disruption to surrounding components. Once removed, assess each part for repairability or replacement needs.
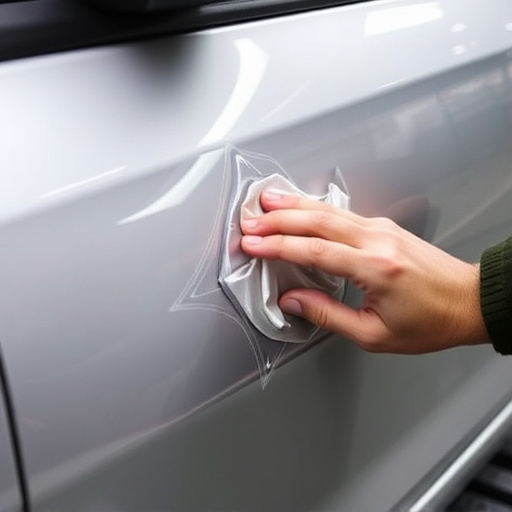
4. Repair or Replace: For minor dents and damage, car bodywork services may include patching and painting. More severe cases might necessitate replacing entire panels. Regardless, automotive body work experts use advanced techniques to match original factory specifications, ensuring a seamless restoration.
5. Reassemble: With repaired or replaced parts in place, meticulously reassemble the crumple zone, securing all components with appropriate fasteners. Proper alignment is paramount to maintain the vehicle’s structural integrity and aerodynamic efficiency.
6. Quality Control: Before considering the repair complete, conduct a thorough inspection to verify all parts are securely fastened, aligned correctly, and free from any visible defects. This step ensures your Tesla not only looks good but also performs optimally in future collisions.
Tesla’s crumple zones are a key feature in enhancing passenger safety during front or rear-end collisions. By understanding their design and purpose, we can effectively evaluate damage and execute precise repair processes to restore these critical components. Through efficient crumple zone repair, Tesla vehicles can maintain their structural integrity and continue to provide the advanced safety features for which they are known.